
A perfect vacuum depends on a perfect seal. Over time, the silicone lid seal on your Henkelman machine can become worn, flattened, or contaminated with oils, which may lead to vacuum leaks. Replacing this seal is a quick and effective way to maintain the integrity of your packaging process.
In this video guide, we show you how to correctly remove your old seal and install a fresh one from a genuine Henkelman service kit. We also cover the “Rule of 9” to ensure your seal is oriented correctly, preventing common installation errors that can halt production.
Key Takeaways:
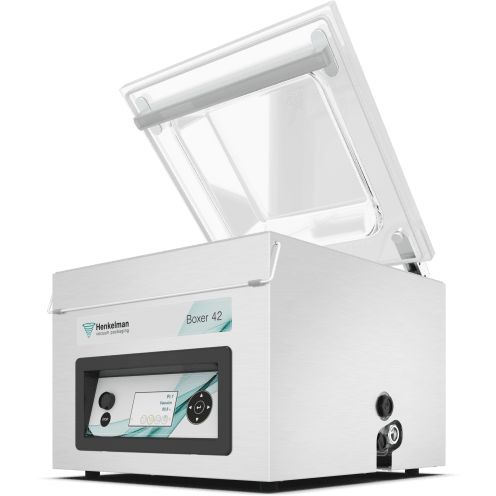
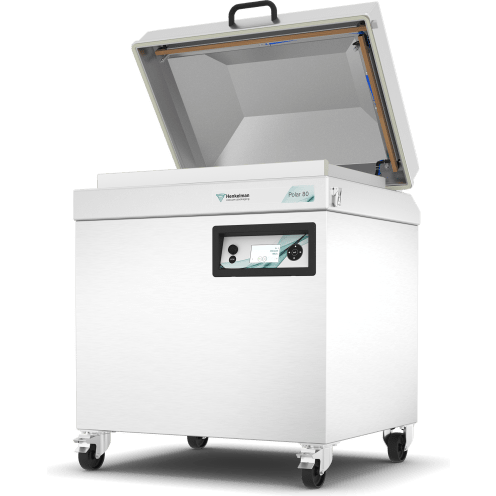
- The Right Parts: Always use a genuine Henkelman service kit to ensure the silicone profile matches your specific machine model.
- Cleaning the Groove: Always clean the lid groove of grime and oils before installing the new seal to prevent slippage.
- Orientation Matters: When looking at the side profile of the seal, it should look like the numeral “9.” Ensure the “leg” of the seal faces outwards from the lid in all directions.
- Precision Fitting: Avoid stretching the silicone during installation; leaving a 5mm overlap is crucial for a flush join.
- Bedding In: You might need to apply extra pressure during the first few cycles to help the new seal “bed in” and activate the microswitch.